Recipe: Powering curbside pickup, BOPIS, and delivery with Radar
Since this post was published, Radar has introduced trip tracking with arrival detection and live ETAs to decrease customer wait times and improve operational efficiency. Check out our Curbside 2.0 post to learn about the updates to Radar's Trip Tracking solution.
In a time of social distancing, QSRs like Starbucks and retailers like Walmart are switching from in-store transactions to curbside pickup, BOPIS (buy online, pickup in-store), and delivery.
These experiences not only protect the health and safety of consumers and workers, they also increase convenience for consumers and drive mobile app downloads.
If you're building a pickup or delivery tracking experience, Radar can help.
Radar provides powerful, developer-friendly building blocks for location-based app experiences.
In this recipe, we explain how you can use SDK v3, isochrone (time-based) geofences, the distance API, and webhooks to build a curbside pickup experience. Or, add the forward geocoding API and isochrone (time-based) geofences to build a delivery tracking experience.
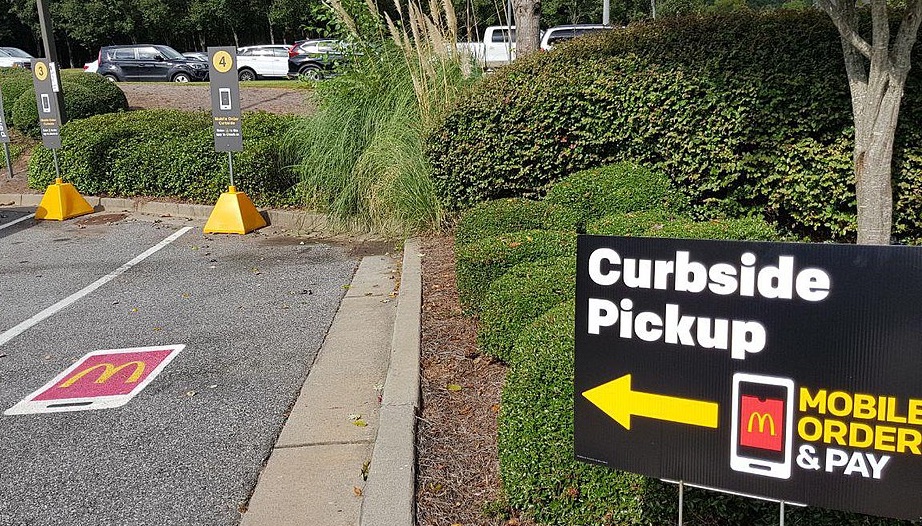
Curbside pickup
At a high level, there are three steps to this recipe:
- Start tracking when a pickup starts
- Determine ETA with isochrone geofences or the distance API
- Listen for geofence entry events to trigger workflows
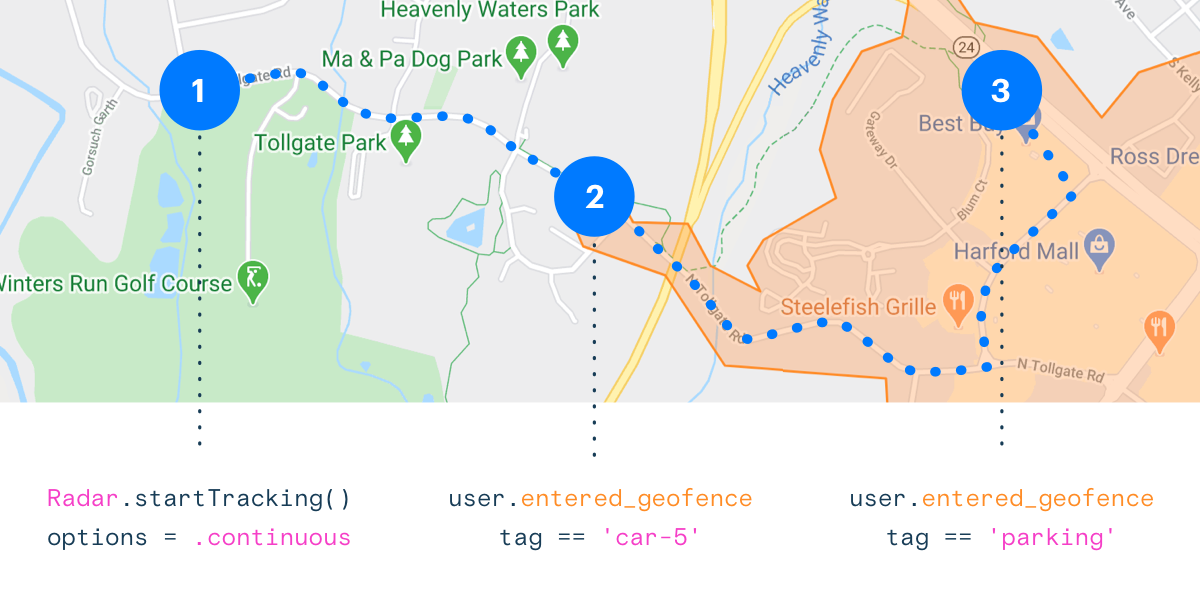
1. Start tracking when a pickup starts
When a customer starts a pickup, you can start location tracking. This might be triggered by an end user action (e.g., the customer taps "I'm on my way") or a callback from an order management system.
The Radar SDK supports a number of tracking presets, including CONTINUOUS, which updates every 30 seconds.
For example, on iOS:
// pickup startedRadar.startTracking(RadarTrackingOptions.continuous)...// called on every location updatefunc didUpdateLocation(_ location: CLLocation, user: RadarUser) { if !isPickupInProgress { Radar.stopTracking() }}
You can also customize tracking options depending on your desired balance of accuracy, frequency, and battery efficiency.
2. Determine ETA with isochrone geofences or the distance API
Once location tracking is started, you can determine the customer's ETA.
In addition to circle and polygon geofences, Radar supports isochrone (time-based) geofences.
You might create multiple geofences around each store. For example:
- user is at store #123 (tag
storeand external ID123) - user is in the parking lot of store #123 (tag
parkingand external ID123) - user is 5 minutes away driving from store #123 (tag
car-5and external ID123) - user is 15 minutes away driving from store #123 (tag
car-15and external ID123)
You can also call the distance API to get an updated ETA on every location update.
// pickup startedRadar.startTracking(RadarTrackingOptions.continuous)...// called on every geofence eventfunc didReceiveEvents(_ events: [RadarEvent], user: RadarUser) { user?.events?.forEach { (event) in if event.type == .userEnteredGeofence { let storeId = event.geofence?.externalId if event.geofence?.tag == "store" { // user is at the store } else if event.geofence?.tag == "parking" { // user is in the parking lot of the store } else if event.geofence?.tag == "car-5" { // user is 5 minutes away driving from the store } else if event.geofence?.tag == "car-15" { // user is 15 minutes away driving from the store } } }}// called on every location updatefunc didUpdateLocation(_ location: CLLocation, user: RadarUser) { Radar.getDistance( destination: destination, modes: [.car], units: .imperial ) { (status, routes) in let eta = routes?.car?.duration.value // ... } if !isDeliveryInProgress { Radar.stopTracking() }}
3. Listen for geofence entry events to trigger workflows
Finally, you can listen for geofence entry events to trigger messages, app experiences, and operational workflows.
For example, you might trigger a push notification and show the order number in the app when the customer enters the parking lot:

You might also use geofence entry events to trigger operational workflows. For example, you might set up a webhook that sends ETA to an order management or FOH system:
app.post('/webhooks/radar', (req, res, next) => { const event = req.body.event; if (event.type === 'user.entered_geofence') { const storeId = event.geofence.externalId; if (event.geofence.tag === 'store') { // user is at the store } else if (event.geofence.tag === 'parking') { // user is in the parking lot of the store } else if (event.geofence.tag === 'car-5') { // user is 5 minutes away driving from the store } else if (event.geofence.tag === 'car-15') { // user is 15 minutes away driving from the store } }});
Delivery
The implementation for delivery is similar, with two differences.
First, you are tracking couriers, not customers.
Second, instead of creating a static set of geofences for stores, you may create geofences for deliveries programmatically via the API.
You can create temporary geofences that are disabled or deleted after a specific time, as well as user-specific geofences that will only generate entry or exit events for specific users.
If you know the address for a delivery but not the latitude and longitude, you can also call the forward geocoding API to convert address to coordinates.
For example, to create a delivery #123 geofence at 20 Jay Street, Brooklyn, NY for courier #456 that expires at midnight UTC on April 3, 2020, call the forward geocoding API:
curl "https://api.radar.io/v1/geocode/forward?query=20 Jay Street, Brooklyn, NY" \ -H "Authorization: prj_live_pk_...
Then, call the geofence upsert API with the latitude and longitude:
curl "https://api.radar.io/v1/geofences/delivery/123" \ -H "Authorization: prj_live_sk_..." \ -X PUT \ -d "description=Delivery #123" \ -d "type=circle" \ -d "coordinates=[-73.98670,40.70390]" \ -d "radius=100" \ -d "userId=456" \ -d "disableAfter=2020-04-03T00:00:00.000Z"
That's it!
Ready to take your pickup or delivery experience to the next level? Sign up or contact our sales team. We can't wait to see what you'll build.
See our industry playbooks for more examples and inspiration: