An Android location services tutorial for iOS developers
iOS developers learning Android location services will find many similarities between the two platforms, but also many differences. This is the tutorial I wish I had as an iOS developer learning Android location services.
If you'd rather not learn the differences, or if you want to level up with advanced capabilities, check out Radar. We're building a location platform for mobile apps that abstracts away cross-platform differences between location services on iOS and Android, and adds many advanced capabilities (e.g., unlimited geofences, polygonal geofences, accuracy down to 50 meters, stop detection, a dashboard, webhooks, integrations, an API, and more). Best of all, it's free up to 100,000 monthly tracked users.
Let's get started!
Concepts
iOS developers are familiar with the following location services concepts:
- Location permissions
- High power location updates (standard location service)
- Low power location updates (significant-change location service)
- Geofencing and beacons (region monitoring service)
- Visits (visits service)
These capabilities are part of the Core Location framework, and are exposed through the CLLocationManager class.
The most current Android location services capabilities are part of the Google Play services location APIs.
Below, we revisit each iOS location services capability and explain the analogous capabilities on Android.
Location permissions
On both iOS and Android, you must request permissions from the user before using location services.
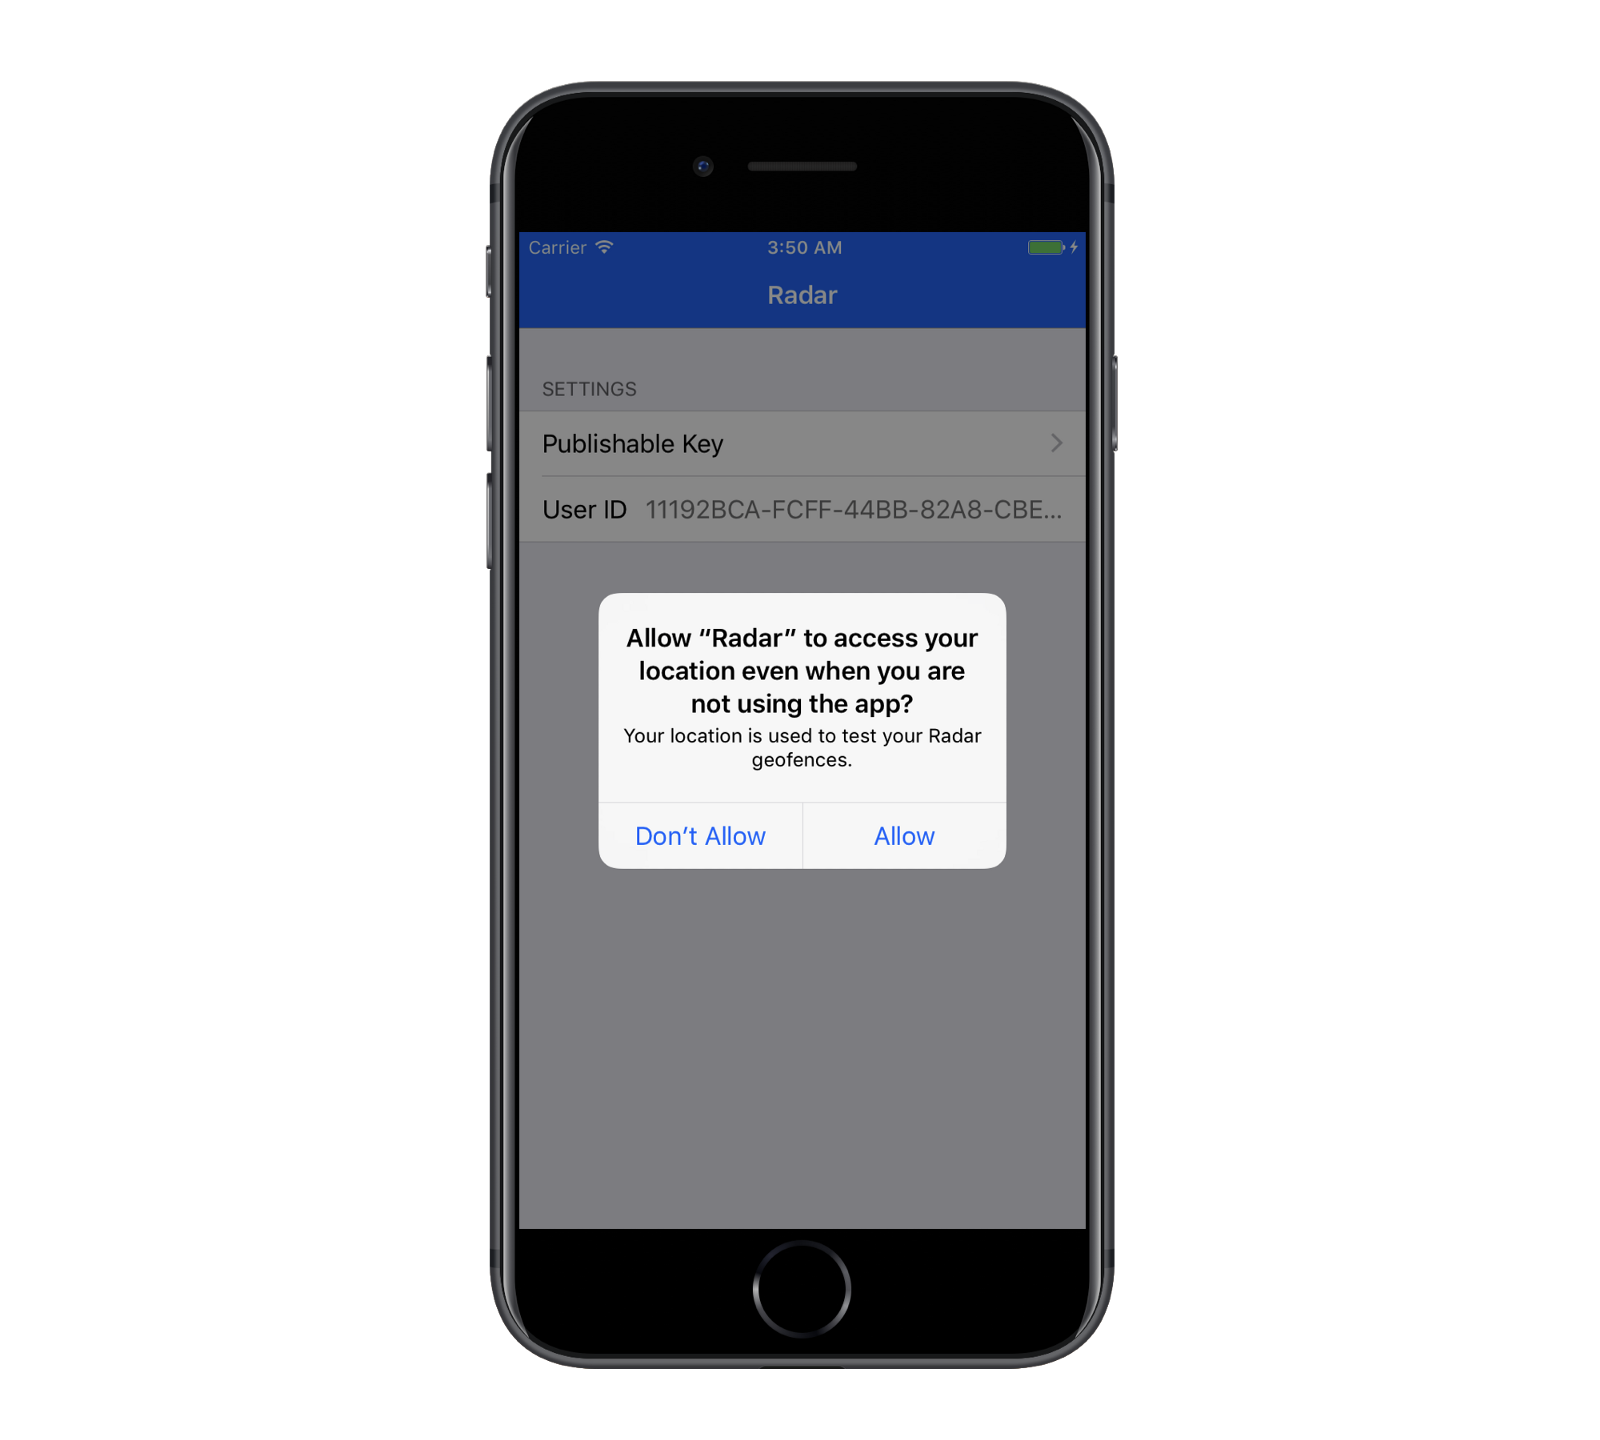
As of iOS 8, there are two location permissions: foreground ("when in use") permissions and background ("always") permissions. As of iOS 11, when you request background permissions, you must also give the user the option to grant foreground permissions. You must provide usage descriptions for these permissions in your Info.plist:
<!-- new property for iOS 11 -->
<key>NSLocationAlwaysAndWhenInUseUsageDescription</key>
<string>Your iOS 11 and higher background location usage description goes here.</string>

<!-- old properties for iOS 8 to 10 -->
<key>NSLocationAlwaysUsageDescription</key>
<string>Your iOS 10 and lower background location usage description goes here.</string>
<key>NSLocationWhenInUseUsageDescription</key>
<string>Your foreground location usage description goes here.</string>
Then, you must prompt the user for permissions at run time:
func requestLocationPermissions() {
  if locationManager == nil {
    locationManager = CLLocationManager()
  }

  let authorizationStatus = CLLocationManager.authorizationStatus()

  if CLLocationManager.authorizationStatus() == .notDetermined {
    locationManager.requestAlwaysAuthorization()
  }
}
On Android, there are also two location permissions: ACCESS_COARSE_LOCATION and ACCESS_FINE_LOCATION. Instead of determining whether location services can be used in the foreground or in the background, these permissions determine the accuracy of the location returned by the API. To use geofencing, you must request ACCESS_FINE_LOCATION.
You must first request permissions in your app manifest:
<manifest xmlns:android="http://schemas.android.com/apk/res/android"
    package="com.onradar.app">

  <uses-permission android:name="android.permission.ACCESS_FINE_LOCATION" />

</manifest>
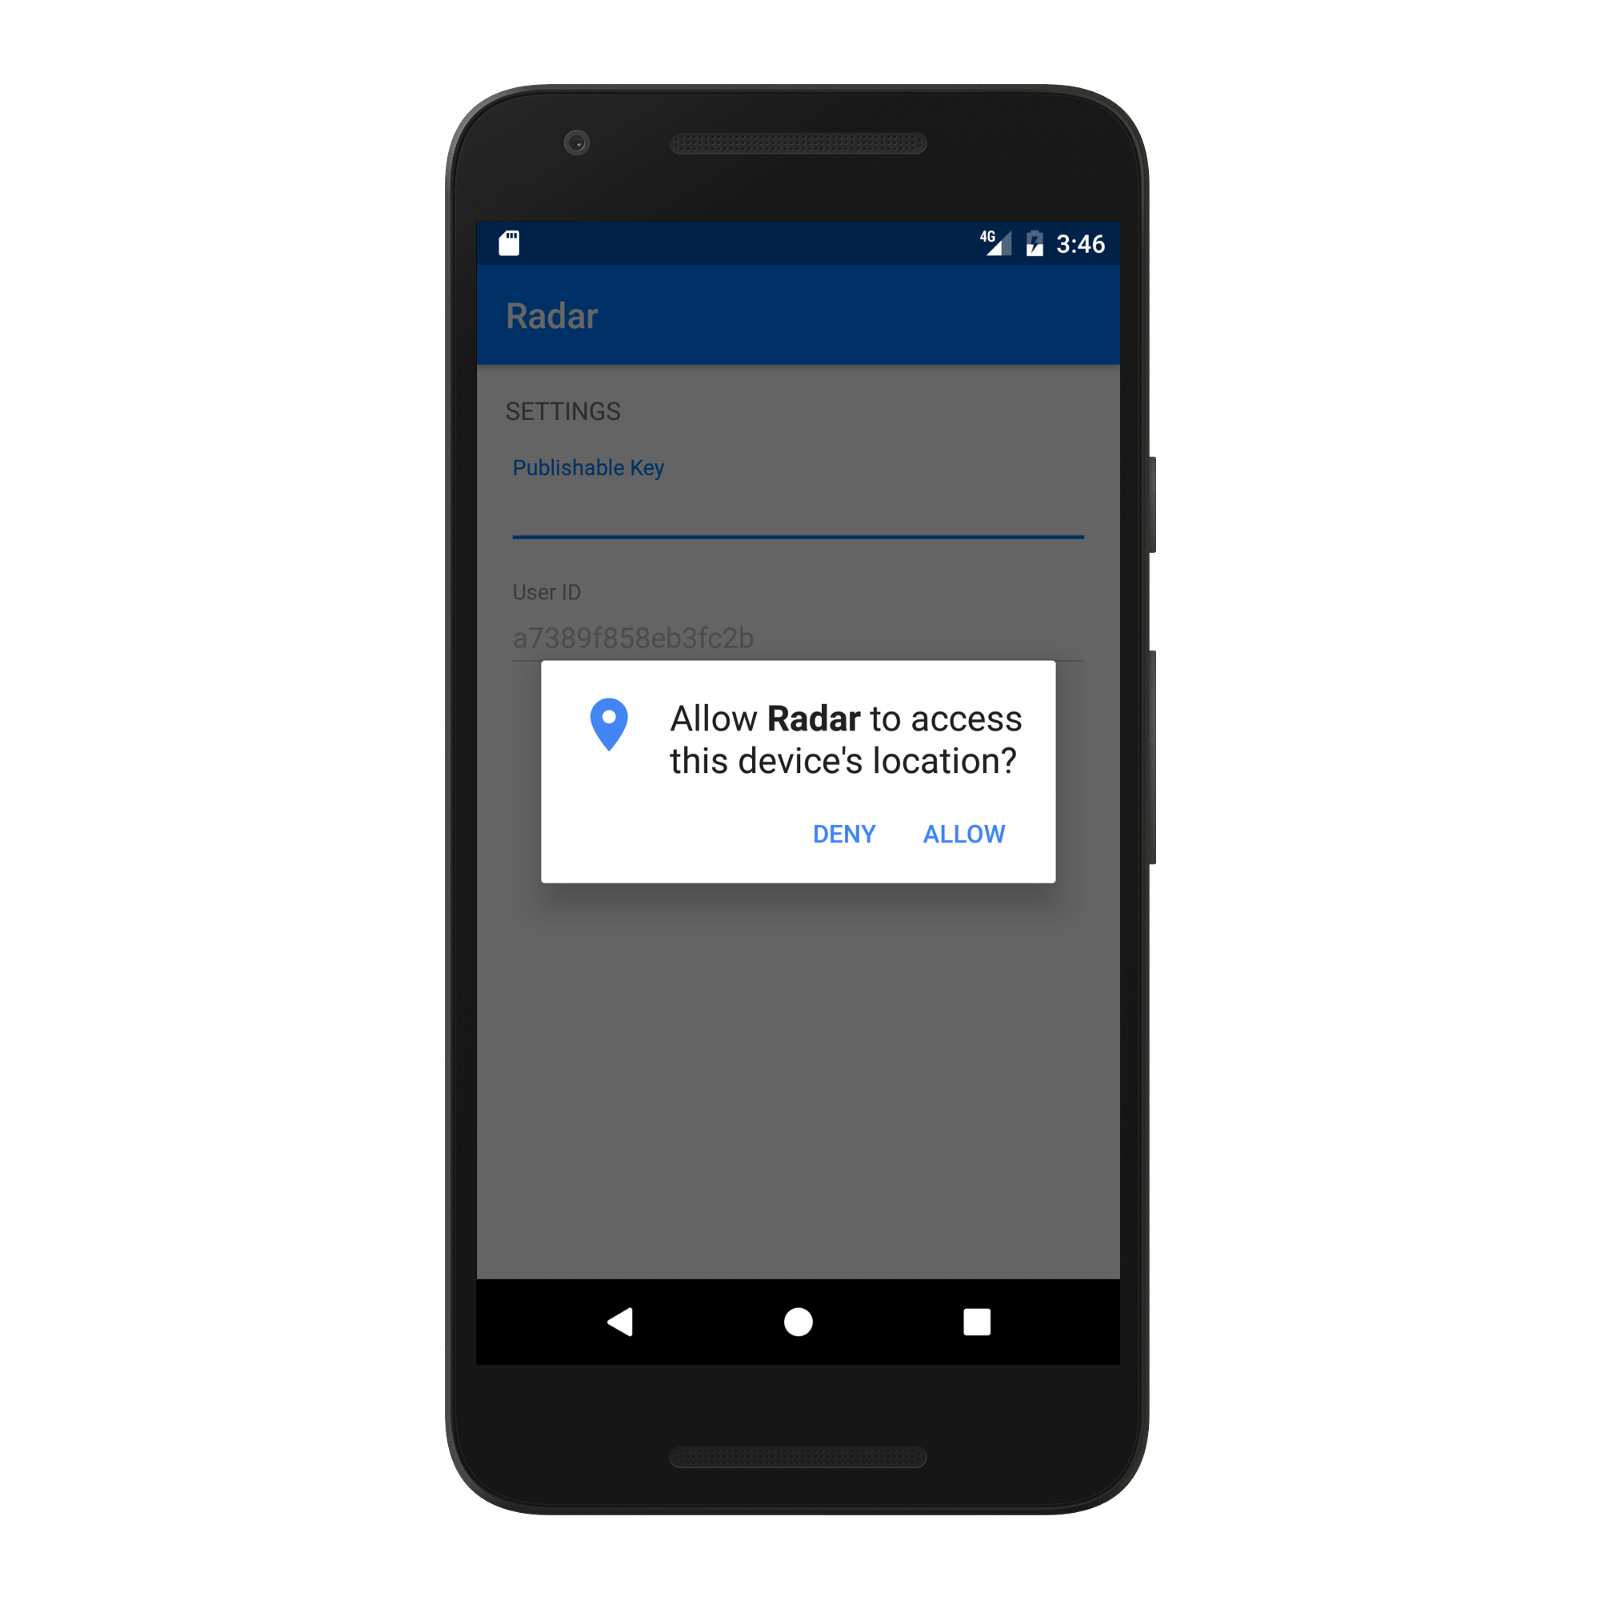
Before API level 23, the user was automatically prompted for permissions at install time. As of API level 23 and later, location permissions are considered "dangerous" permissions, and you must prompt the user for permissions at run time:
private void requestPermissions(Activity activity) {
  int permissionCheck = ContextCompat.checkSelfPermission(activity,
      Manifest.permission.ACCESS_FINE_LOCATION);

  if (permissionCheck != PackageManager.PERMISSION_GRANTED) {
    ActivityCompat.requestPermissions(activity,
        new String[] {Manifest.permission.ACCESS_FINE_LOCATION},
            MY_PERMISSIONS_REQUEST_ACCESS_FINE_LOCATION);
  }
}
High power location updates
On iOS, you use the standard location service to get the user's location in the foreground.
You can configure your CLLocationManager instance before starting the standard location service, setting a desiredAccuracy for location updates, a distanceFilter threshold for subsequent location updates, and more. You must implement CLLocationManagerDelegate and set the delegate to receive location updates.
Then, you can call startUpdatingLocation() to receive periodic location updates, or you can call requestLocation() to receive a single location update.
let locationManager = CLLocationManager()

func startStandardLocationService() {
  locationManager.delegate = self
  locationManager.desiredAccuracy = kCLLocationAccuracyNearestTenMeters

  locationManager.startUpdatingLocation()
}

func locationManager(_ manager: CLLocationManager, didUpdateLocations locations: [CLLocation]) {
  let location = locations.last
  // do something with location
}
You can also use the standard location service to get the user's location in the background, although this requires enabling the location background mode in your Info.plist, setting allowsBackgroundLocationUpdates to true on your CLLocationManager instance, and providing justification during App Store submission.
On Android, you can use the Google Play services FusedLocationApi to get the user's location.
First, you must add a dependency on Google Play services location APIs in your build.gradle:
apply plugin: 'com.android.application'

dependencies {
  compile 'com.google.android.gms:play-services-location:10.2.0'
}
Unlike on iOS, you must register your app in the Google Developer Console and obtain an app ID before using location services. For more information, see Set Up Google Play Services.
Also unlike on iOS, you must initialize a Google Play services API client and wait for it to connect before getting the user's location. You might connect your client when your activity starts and disconnect your client when your activity stops:
private GoogleApiClient mGoogleApiClient;

private void initializeGoogleApiClient {
  if (mGoogleApiClient == null) {
      mGoogleApiClient = new GoogleApiClient.Builder(this)
          .addConnectionCallbacks(this)
          .addOnConnectionFailedListener(this)
          .addApi(LocationServices.API)
          .build();
  }
}

protected void onStart() {
  mGoogleApiClient.connect();
  super.onStart();
}

protected void onStop() {
  mGoogleApiClient.disconnect();
  super.onStop();
}
Implement ConnectionCallbacks and OnConnectionFailedListener to receive callbacks when connection succeeds or fails and retry any pending requests:
@Override
public void onConnected(Bundle connectionHint) {
  if (mLocationRequestPending) {
    startLocationRequest();
  }
}

@Override
public void onConnectionFailed(@NonNull ConnectionResult result) {
  // do something
}

@Override
public void onConnectionSuspended(int cause) {
  // do something
}
Once connected, you can call requestLocationUpdates() on the FusedLocationApi to receive periodic location updates.
Like setting desiredAccuracy on iOS, you can call setPriority(int) on your LocationRequest instance to specify desired accuracy and hint which location sources to use. PRIORITY_HIGH_ACCURACY will request the highest accuracy available and is most likely to use GPS. PRIORITY_BALANCED_POWER_ACCURACY will request "block-level" accuracy and is most likely to use wi-fi and cell tower positioning. PRIORITY_LOW_POWER will request "city-level" accuracy and is most likely to use cell tower positioning. Unlike on iOS, you can even call PRIORITY_NO_POWER receive location updates only when available from other apps, receiving no battery blame.
You can also call setInterval(long) to set the desired interval for location updates, in milliseconds. And you can call setFastestInterval(long) to receive locations updates more frequently when available from other apps, only receiving battery blame for the interval specified in setInterval(long).
Pretty cool, right?
For example, to get "block-level" accuracy location updates at least every 30 seconds, but not faster than every 5 seconds:
private void startLocationRequest {
  boolean isConnected = mGoogleApiClient.isConnected();
  if (!connected) {
    mLocationRequestPending = true;
  }

  LocationRequest locationRequest = new LocationRequest()
      .setInterval(30000L) // 30 seconds
      .setFastestInterval(5000L) // 5 seconds
      .setPriority(PRIORITY_BALANCED_POWER_ACCURACY);

  try {
    LocationServices.FusedLocationApi.requestLocationUpdates(
        mGoogleApiClient, locationRequest, this);
  } catch (SecurityException e) {
    // do something
  }
}
Finally, implement LocationListener to receive location updates:
@Override
public void onLocationChanged(Location location) {
  // do something with location
}
Unlike on iOS, you can also call getLastLocation() to get the best last known location of the device, even if provided by another app:
private void getLastLocation() {
  Location lastLocation = LocationServices.FusedLocationApi
      .getLastLocation(mGoogleApiClient);
  // do something with lastLocation if not null
}
Low power location updates
On iOS, you can use the significant-change location service to receive low power location updates in the background. You will receive location updates only when there has been a significant change in the device's location, usually more than 500 meters, and not more than every 15 minutes.
To start the significant-change location service, call startMonitoringSignificantLocationChanges():
let locationManager = CLLocationManager()

func startSignificantChangeLocationService() {
  locationManager.delegate = self

  locationManager.startMonitoringSignificantLocationChanges()
}
If you leave the significant-change location service running and your app is suspended or terminated, the service will wake up your app to receive new location updates.
On Android, there is no significant-change location service. Instead, you can set a long interval and a low power priority on your LocationRequest instance. For example:
private void startLocationRequest {
  boolean isConnected = mGoogleApiClient.isConnected();
  if (!connected) {
    mLocationRequestPending = true;
  }

  LocationRequest locationRequest = new LocationRequest()
      .setInterval(900000L) // 15 minutes
      .setFastestInterval(900000L) // 15 minutes
      .setPriority(PRIORITY_LOW_POWER);

  try {
    LocationServices.FusedLocationApi.requestLocationUpdates(
        mGoogleApiClient, locationRequest, this);
  } catch (SecurityException e) {
    // do something
  }
}
However, your location request will be terminated when you Google Play services API client disconnects.
To keep low power location updates running in the background, you might instead start your location request from a service. Or, you might mimic the significant-change location service by using AlarmManager to wake up your app at regular intervals calling getLastLocation() to get the best last known location of the device. This is left as an exercise to the reader.
Geofencing and beacons
On iOS, CLRegion provides region monitoring for circular geofences via CLCircularRegion and beacons via CLBeaconRegion.
To monitor a geofence, create and configure a CLCircularRegion instance. You can set a coordinate center, a radius, and a unique identifier for the region. You must implement CLLocationManagerDelegate and set the delegate to receive region entries and exits.
Then, call startMonitoring(for:) to start monitoring the geographic region. For example, to monitor a 500 meter radius around Times Square:
let locationManager = CLLocationManager()

func startMonitoringForRegion() {
  locationManager.delegate = self

  let center = CLLocationCoordinate2D(latitude: 40.7589,
      longitude: -73.9851)
  let radius = 500
  let identifier = "times-square"
  let region = CLCircularRegion(center: center, radius: radius,
      identifier: identifier)

  locationManager.startMonitoring(for: region)
}

func locationManager(_ manager: CLLocationManager,
    didEnterRegion region: CLRegion) {
  // do something on entry
}

func locationManager(_ manager: CLLocationManager,
    didExitRegion region: CLRegion) {
  // do something on exit
}
You can only monitor 20 regions at a time. You might monitor more than 20 regions at a time by starting the significant-change location service, performing a diff, starting monitoring for the 20 closest regions, and stopping monitoring for any others.
As a general rule, iOS client-side geofencing only works down to 100–200 meters. Any geofences smaller than 100 meters will be converted to 100 meter geofences.
Like the significant-change location service, if you leave the region monitoring service running and your app is suspended or terminated, the service will wake up your app to receive new region entries and exits.
On Android, you can use the Google Play services GeofencingApi for geofencing. Geofencing capabilities on Android are more advanced than those on iOS. For example, you can monitor up to 100 geofences at a time, you can listen for "dwell" events in addition to entry and exit events, and you can control the responsiveness of geofence event delivery.

Again, you must initialize a Google Play services API client and wait for it to connect before monitoring geofences. Once connected, you can use the GeofencingApi to build and add geofences.
Like on iOS, you can specify a center and radius for the geofence. You can set a PendingIntent for the geofence, and listen for that intent in a BroadcastReceiver or IntentService to receive entry, exit, and dwell transitions. To receive transitions even when the app is not running and to avoid the need to start a service, I recommend using a BroadcastReceiver.
Again, to monitor a 500 meter radius around Times Square:
private void startMonitoringGeofence() {
  boolean isConnected = mGoogleApiClient.isConnected();
  if (!connected) {
    mStartMonitoringGeofencePending = true;
  }

  double latitude = 40.7589;
  double longitude = -73.9851;
  float radius = 500;
  Geofence newGeofence = new Geofence.Builder()
      .setRequestId("times-square")
      .setTransitionTypes(Geofence.GEOFENCE_TRANSITION_ENTER
          | Geofence.GEOFENCE_TRANSITION_EXIT)
      .setCircularRegion(latitude, longitude, radius)
      .setExpirationDuration(Geofence.NEVER_EXPIRE)
      .build();

  GeofencingRequest.Builder builder =
      new GeofencingRequest.Builder();
  GeofencingRequest request = builder
      .addGeofence(newGeofence)
      .setInitialTrigger(Geofence.GEOFENCE_TRANSITION_ENTER)
      .build();

  Intent intent = new Intent("com.onradar.app.TRANSITIONED");
  final PendingIntent pendingIntent =
      PendingIntent.getBroadcast(mContext, 0, intent,
          PendingIntent.FLAG_UPDATE_CURRENT);

  try {
    PendingResult<Status> result =
        LocationServices.GeofencingApi
            .addGeofences(mGoogleApiClient, request, pendingIntent);

    result.setResultCallback(new ResultCallback<Status>() {
      @Override
      public void onResult(@NonNull Status status) {
        // do something
      }
    });
  } catch (SecurityException e) {
    // do something
  }
}
To receive entry and exit events, extend BroadcastReceiver and listen for the action you specified in your PendingIntent. Unlike on iOS, geofences are not persisted when the device is rebooted. So, you should listen for ACTION_BOOT_COMPLETED and be prepared to restore geofences on device reboot, too:
public final class MyReceiver extends BroadcastReceiver {

  @Override
  public void onReceive(Context context, Intent intent) {
    String action = intent.getAction();
    if (action.equals("com.onradar.app.TRANSITIONED")) {
      GeofencingEvent event = GeofencingEvent.fromIntent(intent);
      // do something with event
    } else if (action.equals(Intent.ACTION_BOOT_COMPLETED)) {
      // restore geofences
    }
  }

}
Finally, register your receiver in your app manifest:
<manifest xmlns:android="http://schemas.android.com/apk/res/android"
    package="com.onradar.app">

  <uses-permission android:name="android.permission.INTERNET" />
  <uses-permission android:name="android.permission.ACCESS_FINE_LOCATION" />
  <uses-permission android:name="android.permission.RECEIVE_BOOT_COMPLETED" />

  <application>
    <receiver
        android:name=".MyReceiver"
        android:enabled="true"
        android:exported="false">
      <intent-filter>
        <action android:name="android.intent.action.BOOT_COMPLETED" />
        <action android:name="com.onradar.app.TRANSITIONED" />
      </intent-filter>
    </receiver>
  </application>

</manifest>
Again, as a general rule, Android client-side geofencing only works down to 100–200 meters.
Visits
On iOS, CLVisit can notify your app when the user visits an interesting place. For example, if the user is in a location for an extended period of time, the service might generate a visit-related event, and generate another visit-related event when the user leaves that location.
let locationManager = CLLocationManager()

func startMonitoringVisits() {
  locationManager.delegate = self

  locationManager.startMonitoringVisits()
}

func locationManager(_ manager: CLLocationManager,
    didVisit visit: CLVisit) {
  // do something on visit
}
The visits service is an alternative to the significant-change location service, but can be unpredictable and unreliable.
Like the significant-change location service and region monitoring service, if you leave the visits service running and your app is suspended or terminated, the service will wake up your app to receive new visits.
On Android, there is no visits service. You might use geofence dwell events or Awareness API as an alternative to the visits service.
Conclusion
I hope that this served as a useful refresher for anyone already familiar with iOS location services, and a useful guide for iOS developers learning Android location services. For further reading, see Getting the User's Location guide for iOS and Making Your App Location Aware guide for Android.
In some ways, iOS location services are more powerful than Android location services (e.g., the significant-change location service, the visits service). However, in other ways, Android location services are more powerful (e.g., no separate background location permissions, geofence dwell events).
At the end of the day, mastering the differences between iOS and Android location services and achieving consistent behavior across platforms is quite challenging and time-consuming.
As such, I'd encourage you to check out Radar. We're building a location platform for mobile apps that abstracts away cross-platform differences between location services on iOS and Android, and adds many advanced capabilities (e.g., unlimited geofences, polygonal geofences, accuracy down to 50 meters, stop detection, a dashboard, webhooks, an API, and more). Best of all, it's free up to 100,000 monthly tracked users.
Happy coding!