Waypoint
You can use our Radar Waypoint apps for iOS and Android to test Radar before integrating the SDK, or to test your implementation of Radar side-by-side with a complete implementation.


Instructions#
To get started, you'll need a Radar account. Don't have a Radar account yet? Sign up first.
Download the app.
Open the app and enter your email address associated with the Radar account.
Copy the 6 digit code sent to your email into the app.
Grant notification permissions and location permissions by following the onboarding prompts.
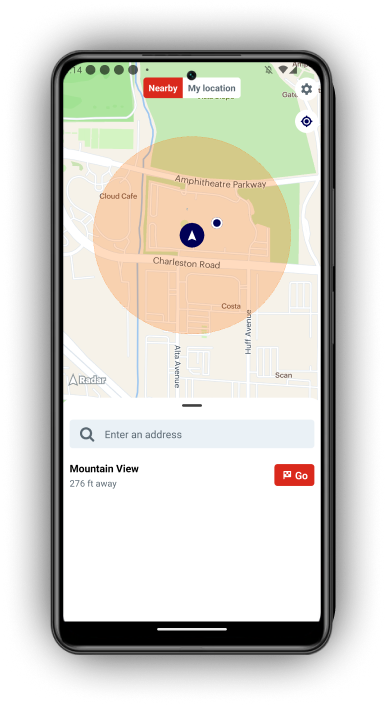
After completing onboarding, you should see your location on the map in the Waypoint app along with your user on the Users page in the dashboard. If you are in a geofence or at a place, you will see events in the app and see events on the Events page in the dashboard.
To generate a new track call in the foreground, tap the refresh button!
To track in the background, move more than 100 meters! Note that location updates may be delayed significantly by Android Doze Mode and App Standby, iOS Low Power Mode, or if the device has connectivity issues, low battery, or wi-fi disabled.
To try out different presets, open the Settings screen. Then, select the Tracking Options preset to use, one of Efficient, Responsive, or Continuous. Learn about iOS tracking presets and Android tracking presets. Manage the the notifications you want to receive, including Events (events received from Radar), Locations (location updates sent to Radar), and Errors (network, location, and permissions errors).

Support#
Have questions or difficulties with Waypoint? Email us at support@radar.com.